November 29, 2010

Baking Basics


As the countdown to the 2010 holiday season begins, I thought it might be a good time to go over some baking basics. Think of this entry as baking 101 or an into course for non-bakers. Those of us who bake all the time know the tools of the trade. We've learned them from the baker in our family, our friends, relatives, or just trial and error. But if you've never, ever baked anything, where the heck do you start? Here's what you'll need to equip yourself for baking success.

Tools of the Trade

Dry Measuring Cups
All sets come in four sizes: 1/4, 1/3, 1/2, and 1 cup.
Use them to measure flour, sugar, brown sugar, peanut butter, oatmeal, chocolate chips, nuts, coconut, etc. Always level off the top of the measuring cup with whatever you're measuring and gently spoon flour into the measuring cup. Never, ever pack down flour.

Liquid Measuring Cup
Available in glass or plastic, the most versatile size is 2 cup. Also available in 1 cup and 4 cup sizes. I recommend the 2 cup size by Pyrex. Use it to measure any liquids in the recipe such as corn syrup, milk, water, vegetable oil, etc.

Measuring Spoons
Vital to your baking success, measuring spoon sets come in these sizes: 1 Tablespoon, 1 Teaspoon, 1/2 Teaspoon, 1/4 Teaspoon. You'll use these to measure baking soda, baking powder, salt, flavorings such as vanilla extract, water, coco powder, etc. Always level off the top of the measuring spoon with whatever your measuring.

Rubber Spatula
Use this to scrape down the sides of the bowl when creaming butter and sugar, adding flour, etc. Available in many sizes and styles, choose a medium size.

Flat Spatula
You probably own at least one spatula already for flipping burgers, but it's good to have a few sizes handy. Choose one that feels good in your hand with a thin, but sturdy edge that gives you rigidity when removing cookies from the pan. A non-stick version works best and can be easily washed in the dishwasher.

Cookie Sheets
If you bake regularly, you probably have at least 4 or 5 sheets in your cabinets. You should have 2 which will allow you to bake 2 pans at a time. Cookie sheets come in two basic styles, either flat or with a edge around the sheet (also called a jelly roll pan). I prefer the edged sheet because it's easier to grip than a flat sheet with just one edge. Try both kinds and I'm sure you'll have a favorite.

Cookie Tins
It's best to store most cookies in an airtight container at room temperature. Cookie tins come in all sizes, shapes, and colors. Make sure you select tins with tight fitting lids. Always hand wash tins and thoroughly dry them before storing to avoid rust.

Stand Mixer
You'll need a sturdy, large, electric mixer to mix cookie dough. Kitchen Aid mixers dominate the market and run about $250 on sale, but you can find cheaper alternatives. Sunbeam and Hamilton Beach make less expensive versions which range from $50 to $100. Hand held mixers are not the best choice since the beaters are small and simply can't handle the amount of dough you're making. Some recipes don't require a mixer, but most do, so it's a good investment.

Parchment Paper
Probably not essential to successful baking, but it keeps cookies from sticking to the baking sheets and makes clean up a breeze. It's okay to reuse a sheet when baking a second or third tray of cookies, but gently scrape the paper with the spatula to remove any crumbs before dropping new dough on the sheet. Trim or fold the paper so it fits on your baking sheet. Be careful not to place under the broiler or near the heating element as it will burn. Do not use parchment paper in toaster ovens for that reason. Parchment paper costs anywhere from $4 - $8 depending on the brand.

Cooling Rack
Cooling racks are essential for cooking making because they allow the cookie to cool quickly and without forming condensation. Two racks should do it. Look for large racks that will firmly support cookies while they cool.

You'll also need spoons, a butter knife, scissors, oven mitts, and a hot oven. But you probably already have those things in your kitchen.

Once you have purchased the tools, you'll need the ingredients. Stay tuned to the blog for my next entry which covers stocking your pantry. Happy baking.

November 16, 2010

Pumpkin Whoopie Pies With Cream Cheese Filling


Chilly days lead to warm thoughts of autumnal flavors simmering on the stove or baking in the oven. This time of year I love to make butternut squash soup, apple pies, spice cake, and anything with pumpkin. I usually can't wait for Thanksgiving Day to dig in to a homemade pumpkin pie so two weeks ago I made one and devoured it with Mike's help in three days. As I was finishing the last few bites of pie I started thinking about what else I could make using pumpkin.

I searched the web and quickly found a recipe for pumpkin whoopie pies on Martha's site and was amazed, no shocked, to find that it was not a Martha original. She credited Matt Lewis of Baked Bakery in Brooklyn for the recipe. I guess even Martha has a few "go-to" people for great cookie recipes.

I brought these to a family party celebrating my uncle's 60th birthday and they were a big hit. The cake is very moist and spiced with generous amounts of cinnamon, ginger and cloves. The cream cheese filling is a perfect complement. While sweet, it balances perfectly with the pumpkin-spice cake.

I think I'll make them to bring along on Thanksgiving Day when Mike and I make the trek to Long Island for our feast!

Baker's Note: Be sure to use pure canned pumpkin in a 15 ounce can, not something in a similar can called pumpkin pie filling. The latter has spices already mixed in and will lead to an over-spiced cake. At the start, open the cans of pumpkin, place in a bowl, and set in the refrigerator to chill. Finally, if you don't have a pastry bag to pipe the filling, don't stress. I used a spoon to gently dollop the filling onto each cookie.

Pumpkin Whoopie Pies With Cream Cheese Filling

3 cups all-purpose flour
1 teaspoon salt
1 teaspoon baking powder
1 teaspoon baking soda
2 tablespoons ground cinnamon
1 tablespoon ground ginger
1 tablespoon ground cloves
1 cups firmly packed dark-brown sugar
1 cup vegetable oil
3 cups pumpkin puree, chilled
2 large eggs
1 teaspoon vanilla extract

Cream-Cheese Filling


3 cups confectioners' sugar
1/2 cup (1 stick) unsalted butter, softened
8 ounces (1 package) cream cheese, softened
1 teaspoon vanilla extract

For the Cookies:

Preheat oven to 350 degrees. Line two baking sheets with parchment paper, set aside.

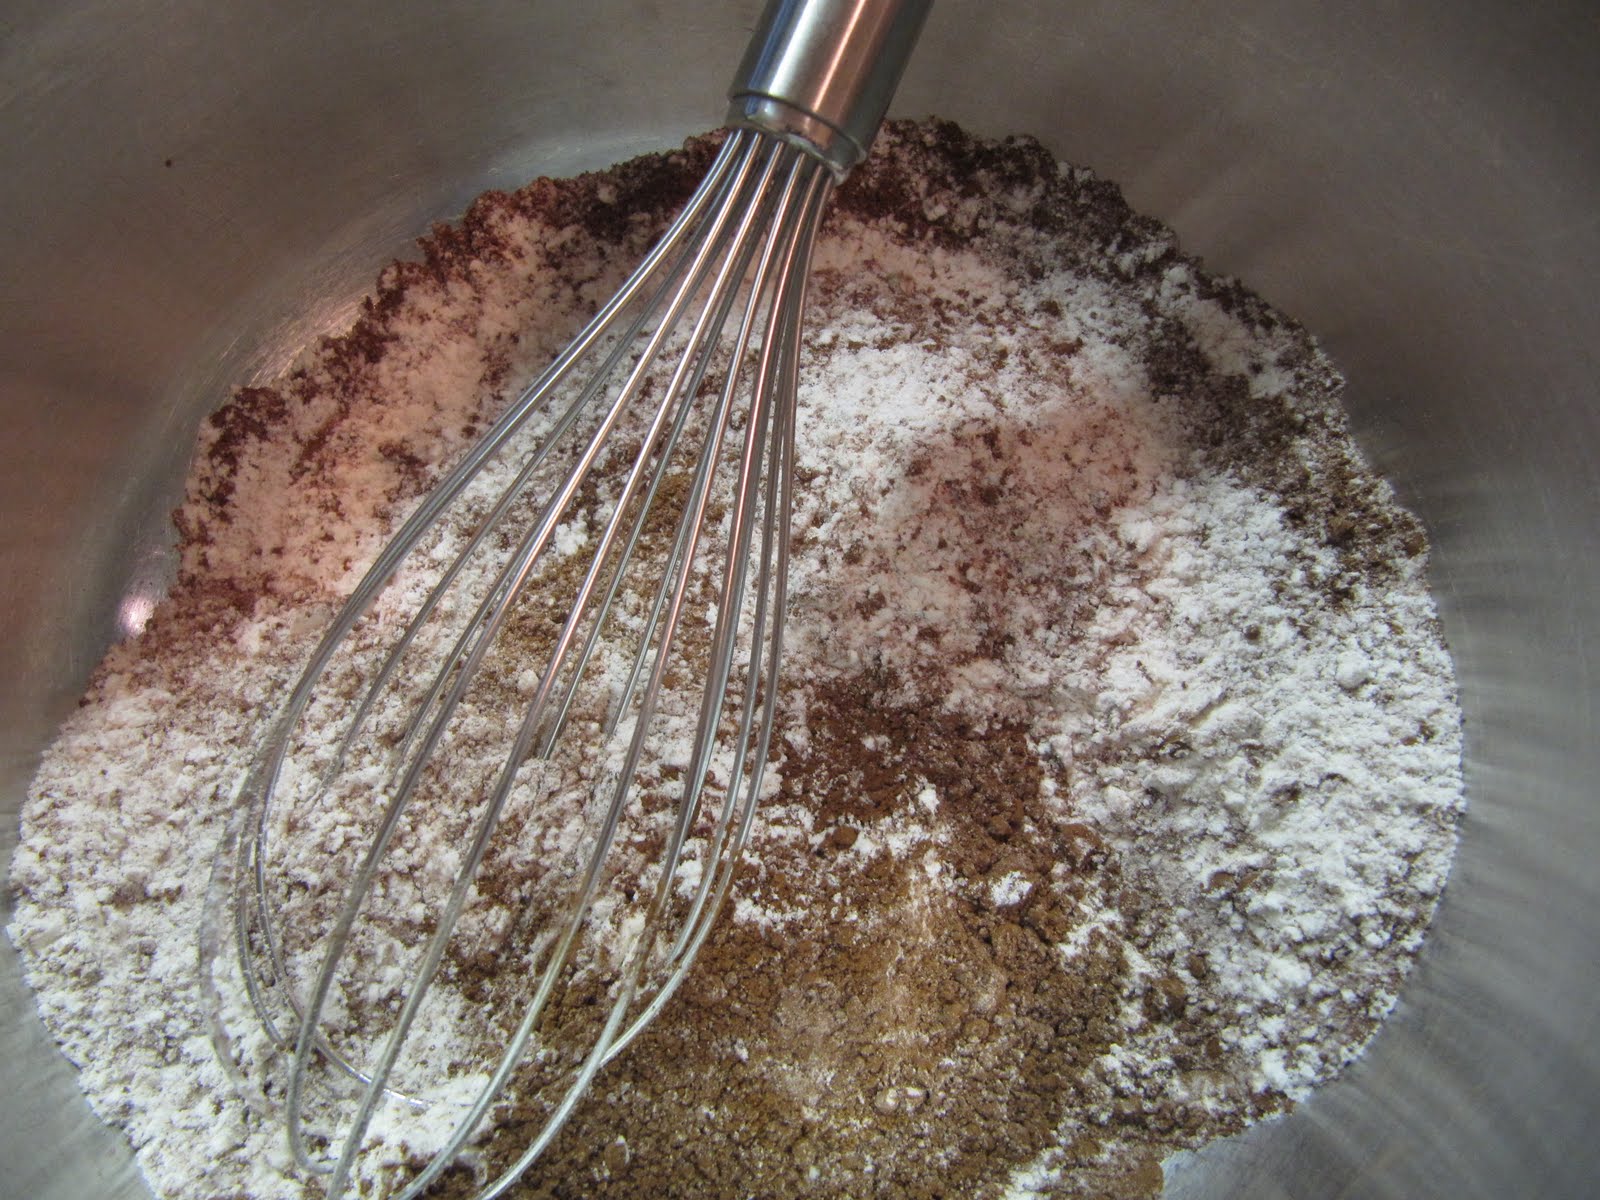
In a large bowl, whisk together flour, salt, baking powder, baking soda, cinnamon, ginger, and cloves; set aside. In another large bowl, whisk together brown sugar and oil until well combined. Add chilled pumpkin puree and whisk until combined. Add eggs and vanilla and whisk until well combined. Sprinkle flour mixture over pumpkin mixture and whisk until fully incorporated.

Using a small ice cream scoop with a release mechanism, drop heaping tablespoons of dough onto prepared baking sheets, about 1 inch apart. Transfer to oven and bake until cookies are just starting to crack on top and a toothpick inserted into the center of each cookie comes out clean, about 15 minutes. Let cool completely on pan.

Make the Filling:

Sift confectioners' sugar into a medium bowl, set aside.
In the bowl of an electric mixer fitted with the paddle attachment, beat butter until smooth. Add cream cheese and beat until well combined. Add confectioners' sugar and vanilla, beat just until smooth. Filling can be made a day in advance. Cover and refrigerate; let stand at room temperature to soften before using.

Assemble Whoopie Pies:

Line a baking sheet with parchment or wax paper. Transfer filling to a pasty bag or a plastic bag, snipping off the end. When cookies have cooled completely, pipe a large dollop of filling onto the flat side of one cookie and sandwich with the flat side of another cookie. Press down slightly so the filling spreads toward the edge of the cookies. Transfer to prepared baking sheet and refrigerate cookies for at least 30 minutes before serving. Best eaten within 3 days.


Cookie press rating: 5 cookies! (out of 5) A perfect score!

November 9, 2010

Grasshoppers


A few of my friends have asked me why I don't experiment more when I bake. My "blog routine" has been to choose a favorite recipe or one from a trusted cookbook, prepare it and then write about the experience, inserting humorous anecdotes as I go.

Since baking is essentially chemistry, it's easy to foul things up by adding too much flour, leavenings, or not enough fat such as butter or shortening. Precise measuring is essential to being a good baker and frankly, I don't have endless amounts of time or cash to make and remake batch after batch of experimental cookies. Instead, I leave the basics of a recipe to the experts who do.

But that doesn't mean I don't do minor things to improve upon a recipe. Using the best chocolate I can find or substituting hazelnuts for pecans can dramatically change the taste and appearance of a cookie. This is where I can, and usually do, safely experiment when baking. I think of it as the fashion equivalent of adding a pocket square to my favorite suit. I look good without it, but I look even better with it.

This week I had to stray a bit from my regular blog routine when my friend Kim requested a batch of Grasshopper cookies as her reward for designing the blog's new look. Since I've never made grasshoppers before, I look online for a recipe. When a few searches came up with zilch, it was time to create my own version using a chocolate cookie recipe I was already familiar with.

Grasshoppers are a cookie made by Keebler and are similar in appearance and taste to Girl Scout Thin Mints. My interpretation is a sandwich cookie with a minty chocolate cookie as the base and top, and a creamy mint filling inside. The top is drizzled with melted white chocolate. The result was a fantastic combination of crispy, chocolaty cookies surrounding a soft, minty filling made with butter, powdered sugar, and creme de menthe. The small amount of white chocolate was just enough to make the cookie decadent and wonderful. Next time I may throw caution into the wind and dip the entire cookie in dark chocolate before finishing it off with white chocolate.

Chocolate Cookie Base
(adapted from Carole Walter's Great Cookies book)

1/2 cup unsalted butter (1 stick)
3 ounces bittersweet or semisweet chocolate, coarsely chopped (I used Ghirardelli bittersweet chocolate chips)
1/2 teaspoon instant espresso powder
1 1/4 cups all-purpose flour, spooned and leveled
6 tablespoons dutch-processed cocoa powder (different from Hershey's or Nestle)
1/4 teaspoon baking soda
1/8 teaspoon salt
3/4 cup superfine sugar (alternatively, process 3/4 cup granulated sugar in a food processor fitted with a steel blade for approximately 10 - 15 seconds)
1 large egg, lightly beaten
1 teaspoon peppermint extract

In a saucepan, melt the butter over low heat and then add the chocolate. When chocolate is almost melted, turn off the heat and let mixture stand, stirring occasionally until the chocolate is completely melted. Blend in the espresso powder and set aside.

Sift together the flour, cocoa powder, baking soda, and salt. Set aside.

Stir the sugar into the chocolate mixture, blending until smooth. Stir in egg and peppermint extract. Add the dry ingredients in two additions, mixing only enough to combine. The dough will be oily and soft.

Shape the dough into two logs, 5 inches long x 1 1/4 inches in diameter. Wrap each log in plastic, twisting the ends tightly to secure. Refrigerate for three hours or until firm. Note: I had to put the dough into the refrigerator for about 10 minutes in order to form the logs.

Heat oven to 350 degrees.

Using a thin, sharp knife, cut the dough into 3/16-inch slices. Rotate the dough to maintain the round shape and reshape cut dough into round circles as needed. Press slightly with fingertips. Place two inches apart on cookie sheets.

Bake for 10 - 11 minutes until just set. The cookies will be soft to the touch, but will firm up as they cool. Let stand on cookie sheet for 4 - 5 minutes and then transfer to cooling racks. (Note: it's difficult to see if cookies are browning because of their color, so it's important to watch careful and remove the cookies promptly when timer goes off.)

Cookies can be stored in an airtight container for up to 3 weeks or frozen for several months.

Creme de Menthe Filling

Beat 1/2 cup softened butter (1 stick) with an electric mixer on high speed for 30 seconds. Gradually beat in 1 cup powdered sugar. Beat in 2 tablespoons creme de menthe (or 2 tablespoons milk, 1/2 teaspoon mint extract and a few drops of green food coloring) and 1 tablespoon milk. Gradually beat in 3 additional cups of powdered sugar. Add more milk if necessary to obtain the right spreading consistency.

Assemble Cookies

Place a teaspoon of filling on bottom of cookie and gently press another cookie on top of the filling, bottom first. Repeat using all cookies. You should have about 2 dozen cookies total.

Melt 3 ounces of white chocolate in microwave being careful not to burn it. Check regularly and stir chocolate. Place cookies on sheets of wax paper and drizzle with melted chocolate. (Note: I found that a honey dripper worked well to evenly distribute chocolate over cookies. Use quick, even strokes, back and forth over cookies to create straight lines of chocolate.)

Allow chocolate to set for about 30 minutes before handling. Carefully place on cookie sheets or plates and refrigerate until chocolate has completely set.

Cookie press rating: 4.5 cookies (out of five)

Melted Chocolate, Butter & Espresso Powder


Slicing Cookies


Melted White Chocolate


Allow the Chocolate to Set Before Handling


Cookie Close-Up

October 27, 2010

Cookie Press Gets a New Look


Regular blog readers will notice that the Cookie Press has a brand new look! Ever since I started the blog nearly nine months ago I've wanted to jazz up the header to give blog visitors a warm welcome and entice new readers to stick around. I enlisted the help of my friend Kim, a talented graphic artist and designer who created five possible designs for me in a matter of days. I had a hard time picking my favorite!

Kim runs a successful graphic design business called KupiArt. She mostly designs for the indie music scene, but is capable of creating eye catching designs for any purpose including logos, business cards, print and web ads, and even fine art paintings! Check out KupiArt for all of your graphic design needs. Thanks Kim for a job well done!

October 20, 2010

Chewy Chocolate Raisin Cookies


I am constantly clipping out cookie recipes and tucking them inside of cookbooks or pasting them into binders. I would be a prime subject for a new reality show called "Recipe Hoarders." I know I'll never end up making many of them, but just knowing I can is comfort enough. This week's cookie falls into the hoarder category. I don't remember when I first clipped it, but my guess is within the past two years. What attracted me to this recipe for Chewy Chocolate Raisin Cookies was the huge picture included on the page. The cookie photo is of a beautiful chocolaty brown cookie with a large white chocolate chunk and flecks of sugar coating the outside. It's my idea of not only a tasty cookie, but a beautiful one too.

This recipe is fairly easy to prepare. It requires soaking the golden yellow raisins in 1/2 cup of brandy for 20 minutes. While the raisins are soaking, I continued to measure and prepare both the wet and dry ingredients.

The chewiness of the cookie was evident from the very first bite. I detected a hint of the white chocolate, a hint of brandy-soaked raisins, and a hint of honey but not much else. Actually, they tasted like a chewy ginger snap. Don't get me wrong, these are good cookies. Especially if chewy cookies are your thing. But overall, they left me wanting a more intense flavor. Next time I may try swapping the raisins for dried sour cherries and use more and larger white chocolate chunks.

Chewy Chocolate-Raisin Cookies

1 cup golden raisins, coarsely chopped
1/2 cup brandy
1 1/2 cups all-purpose flour
3 tablespoons Dutch-processed cocoa powder
1 1/2 teaspoons ground cinnamon
3/4 teaspoon baking soda
1/2 teaspoon coarse salt
1 stick unsalted butter, softened
1/2 cup packed light-brown sugar
1/2 cup honey
6 ounces white chocolate, cut into 1/2 inch chunks (try 3/4 inch chunks)
1/2 cup granulated sugar

Bring chopped raisins and brandy to a boil in a small saucepan. Remove from heat, stir, and let stand for 20 minutes.

Mix flour, cocoa, 1 teaspoon cinnamon, baking soda, and salt together in a small bowl.

Preheat oven to 325 degrees. Beat butter and brown sugar with a mixer set on medium speed until pale and fluffy, about 2 minutes. Add honey, and beat until creamy. Reduce speed to low, add flour mixture, and beat until combined. Drain raisins, discard liquid. Add raisins and chocolate to the dough. Mix to combine.

Whisk together granulated sugar and remaining 1/2 teaspoon of cinnamon. Scoop 2 tablespoons of dough, roll into a ball and then roll in cinnamon-sugar mixture to coat completely. Place on parchment-lined baking sheets about 2 inches apart. Bake until just set and starting to crack, 18 to 20 minutes. Let cool on sheets.

Store cookies in an airtight container at room temperature for up to 3 days.

Cookie press review: 3 1/2 cookies (out of five)

Raisins and Rum Boiling on the Stove


Whisking the Dry Ingredients Together


Mixing in the White Chocolate and Raisins


Ready for the Oven


Cooling on the Pan

October 14, 2010

Fig Crumble Bars


I always liked Fig Newtons as a kid. I'm not sure why since they aren't particularly sweet or nutty or chocolaty. There is something about the filling coupled with the plain, soft outer shell that I simply like. Or it may be the fact that they came packaged in a sleeve all lined up neatly which satisfied my urge to keep everything tidy.

This recipe for Fig Crumble Bars in a better version of the original Fig Newtons that I loved so much as a kid. The rich fig filling contrasts perfectly with the buttery, crumbly topping and firm bottom crust. These were actually better the second day as the fig flavor intensified. After the third day, they became less crumbly and softer, but tasty nonetheless. Calimyrna figs are golden in color and are not always labeled as such.

I pulsed the butter into the crust mixture but it would not come together as the recipe instructed so I added about 2 tablespoons of cold water to the mixture. I added another teaspoon or two of water to make the topping moist and clumpy.

The recipe is from Everyday Food.

Fig Crumble Bars

Special equipment: food processor

1 1/2 sticks cold, unsalted butter, cut into pieces plus more for pan
2 cups plus 2 tablespoons flour
1 cup plus 2 tablespoons sugar
8 ounces dried Calimyrna figs (about 1 1/2 cups) stems removed
3/4 cup apple juice
1 teaspoon grated zest

Preheat oven to 375 degrees. Butter the bottom of a 8-inch square baking pan, then line pan with parchment paper, leaving a 2-inch overhang. Butter paper and set pan aside.

In a food processor, pulse 2 cups flour and 1 cup sugar. Add butter and pulse until mixture resembles coarse corn meal. Transfer half of the mixture to the prepared pan and press firmly into the bottom. Lightly flour fingers if necessary. Transfer remaining mixture into large, moist clumps (add a tsp. or two of cold water if needed). Transfer to a bowl and set aside. Wipe out bowl of food processor.

Make Filling
In the bowl of the food processor, blend figs, apple juice, lemon zest, and remaining 2 tablespoons of flour and sugar until a thick paste forms.

Using a small offset spatula or table knife, spread filling over crust. Sprinkle with topping and bake until topping is golden brown, about 60 to 65 minutes.

Transfer pan to a wire rack to cool completely. Lift out of pan and place on a cutting board. Cut into approximately 20 bars.

Store in an airtight container at room temperature for up to 5 days.

Cookie press rating: 4 cookies (out of 5)

Ready for the Oven


Baked and Cooled


Close Up

October 6, 2010

Flourless Double-Chocolate Pecan Cookies


A friend of mine recently asked if I've tried any gluten-free baking. "No," I quickly replied. It has always been my feeling that good tasting cookies require flour in the same way that sports cars require leather seats. Sure, you could take away the flour or change seat coverings, but why would you want to?

Shortly after that conversation I found a recipe for Double Chocolate Pecan Cookies which required no flour. It was kismet. I had to try the recipe. Much to my surprise the cookies were absolutely delicious. A crispy outside housed a moist and chewy inside bursting with deep chocolate flavor and an ever so faint salty taste. The pecans add some crunch and texture to the cookie. I'm a now on the gluten-free band wagon.

These cookies spread when baking so be sure to leave 3 inches between each when you spoon them onto parchment-lined baking sheets. After you add the egg whites you may think they will never blend into the dry ingredients. They will. Keep stirring.

I experimented with some leftover dough by baking it in a small ramekin. It required about 15 minutes more baking time, but came out looking and tasting great. Topped with a scoop of vanilla ice cream, it's a new take on the molten chocolate cakes that were so popular a few years ago and are still found on many restaurant dessert menus. I sprayed the ramekin with non-stick spray which didn't work. I suggest you serve it in the ramekin and let your guests scoop it out themselves as they devour it and tell you what a great baker you are. Fill the ramekin only two-thirds full to avoid a mess in your oven.

I tried the recipe a second time and added 3/4 cup of mini-marshmallows to the dough. This is a must if you like sweet and gooey cookies.

This recipe is from Everyday Food magazine.

Flourless Double-Chocolate Pecan Cookies

3 cups confectioners' sugar
3/4 cup Dutch-processed cocoa powder (I use Droste)
1/2 teaspoon coarse salt
5 ounces bittersweet chocolate, chopped or bittersweet chocolate chips
1 1/2 cups chopped pecans (or walnuts)
4 large egg whites, room temperature

Variation: 3/4 cup mini-marshmallows

Preheat oven to 325 degrees. In a large bowl, whisk together sugar, cocoa, and salt. Sir in the chocolate and pecans. Add egg whites and stir just until incorporated. Do not overmix. Add mini-marshmallows if using.

Drop dough by 1/4 cupfuls, 3 inches apart, onto parchment-lined baking sheets. Bake until cookie tops are dry and cracked slightly, about 25 minutes. Rotate sheets halfway through baking time. Transfer sheets to wire racks and let cookies cool completely. Cookies keep for up to 3 days in an airtight container. Makes approximately 12 cookies.

Variation Using 3 Inch Ramekin


Variation With Mini-Marshmallows


Cookie Press Rating: 4 cookies (out of 5)

By the way, I'm still sticking to my belief that sports cars require leather seats and nobody will change my mind about that.