Showing posts with label royal icing. Show all posts

March 11, 2011

Cowgirl Cookie Party


My friend Wendy came to me a few months ago to ask if I would help create a cookie party for her daughter Madeline's 6th birthday. I jumped on board with the plan since I thought it is high time cookies take the spotlight at birthday parties. Who needs the dry old cake with super sweet icing. It's time for a cookie party revolution! And I thought it would be fun, which it definitely was.

Wendy and I met a for lunch a few times to plan the party. First up we need to find space to accommodate our group of 17, six year olds and their parents. In case you weren't aware, it's tough to plan kid parties in New York unless you have oodles of money to rent party space and/or lots of space in your apartment. Creative and resourceful Wendy found a great party place, Cowgirl, a West Village restaurant staple for as long as I can remember. The decor is totally hoe down kitsch with western-themed tchotchkes on the walls. Their party room was perfect for hosting our crowd of 30 and the staff couldn't have been any nicer.


The Plan

Now with a western theme under way, Wendy readied the e-invitations and I got to work on the supplies. First, I hit one of my favorite cooking/baking supply stores in the city, Broadway Panhandler, which oddly is not located on Broadway (it used to be). I picked up three cookie cutters-a boot, a horse, and a cacti. Two days before the party I made about 35 cutouts and used my letters to create cookies to spell out Happy Birthday!

On the day of the party we set up cookie decorating work stations at a long table. Each station contained a placemat, paper plate, and cookies. The center of the table was lined with squeeze bottles filled with brightly colored royal icing so the kids could easily grab the colors they liked. I made sure the icing was on the runny side so that it oozed out of the bottles (just a tad thicker than the consistency of white glue). We also included cupcake wrappers filled with various colored sprinkles and toppings placed along the center of the table within easy reach for short arms.


The kids had a ball decorating cookies! Some kids carefully dotted the cookies with icing while others just poured it on like they were putting maple syrup on pancakes. Whatever the technique, the creations were unique, colorful, and delicious. We wrote each child's name on the bottom of their paper plate and moved the plates to quiet corner of the room to dry while lunch was served. The icing hardened fairly quickly in time for us to place the cookies in cellophane bags as a take away. Wendy also provided gift bags with toys and nifty items. One of the dads entertained the posse with balloon twisty sculptures. A pinata took a beating before it ruptured, spilling its sweet guts all over the floor.

The whole party was two hours. Just long enough to get in all of the action on a cold winter day in the city.


Create Your Own Cookie Party

Here's a list of what you'll need:

cookie cutters (medium size)
sugar cookie dough (2 or 3 batches depending on how many cookie decorators you have)
cupcake wrappers (foil wrappers work best)
plastic squeeze tubes - enough for each child to have one to start (available from Michael's Crafts or by Wilton baking products)
paper plates
table covering for easy cleanup
cellophane bags with ties or ribbon to close
stick on tags to label bags

Two or three days in advance, make cookie dough and refrigerate. One day before roll the dough, bake cookies and store them in an airtight container at room temperature.

Sugar Cookie Cut Outs

2 cups flour
2 teaspoons baking powder
3/4 teaspoon salt
1 cup granulated sugar
1 egg
1/2 cup butter (1 stick) softened
1 teaspoon vanilla

Sift the flour, baking powder and salt together and set aside.
Cream butter and sugar together in a mixer until light and fluffy.
Add the egg and vanilla, mix well.

Add dry ingredients and mix on low speed until ingredients come together.
Do not over mix.

Roll out dough until between 1/8 and 1/4 inch thick, cut into shapes and transfer to parchment-lined cookie sheets. Bake at 375 degrees for 8 to 10 minutes until lightly browned around the edges. Let cookies cool on try for about a minute and remove to wire racks to finish cooling.

Royal Icing
2 large egg whites
1 pound confectioners' sugar
food coloring or gel paste, which is more concentrated.
warm water as needed (add by the teaspoon) to achieve desired consistency

Beat egg whites, sugar, and 2 teaspoons water on low speed for 10 minutes. For thicker icing continue to beat 2 or 3 minutes more. Transfer to smaller bowls and add food coloring as desired. If icing is too thick, add a drop or two of water to thin. Immediately spoon into plastic bottles and securely fasten with lids. Do not expose icing to the air as it will harden. Royal icing will keep in the fridge for a few days so you can make this ahead.


On party day, set up each child's workstation with a few cookies on a plate, and decorating items like sprinkles. If children are older, you may want to provide offset spatulas or butter knifes to assist in decorating.

My advice is to keep it simple and just have fun!

And Happy 6th Birthday Madeline!


January 11, 2011

Let it Snow!


Another winter storm is headed toward New York. Our third big winter blast of the year. Enough already I tell you! Instead of moping around the apartment and cursing the weather I've decided to embrace it. And what better way to do it than with Snowflake Cookies. I made these a few weeks ago as part of my holiday baking extravaganza and remembered to take a few photos so that I could share later.

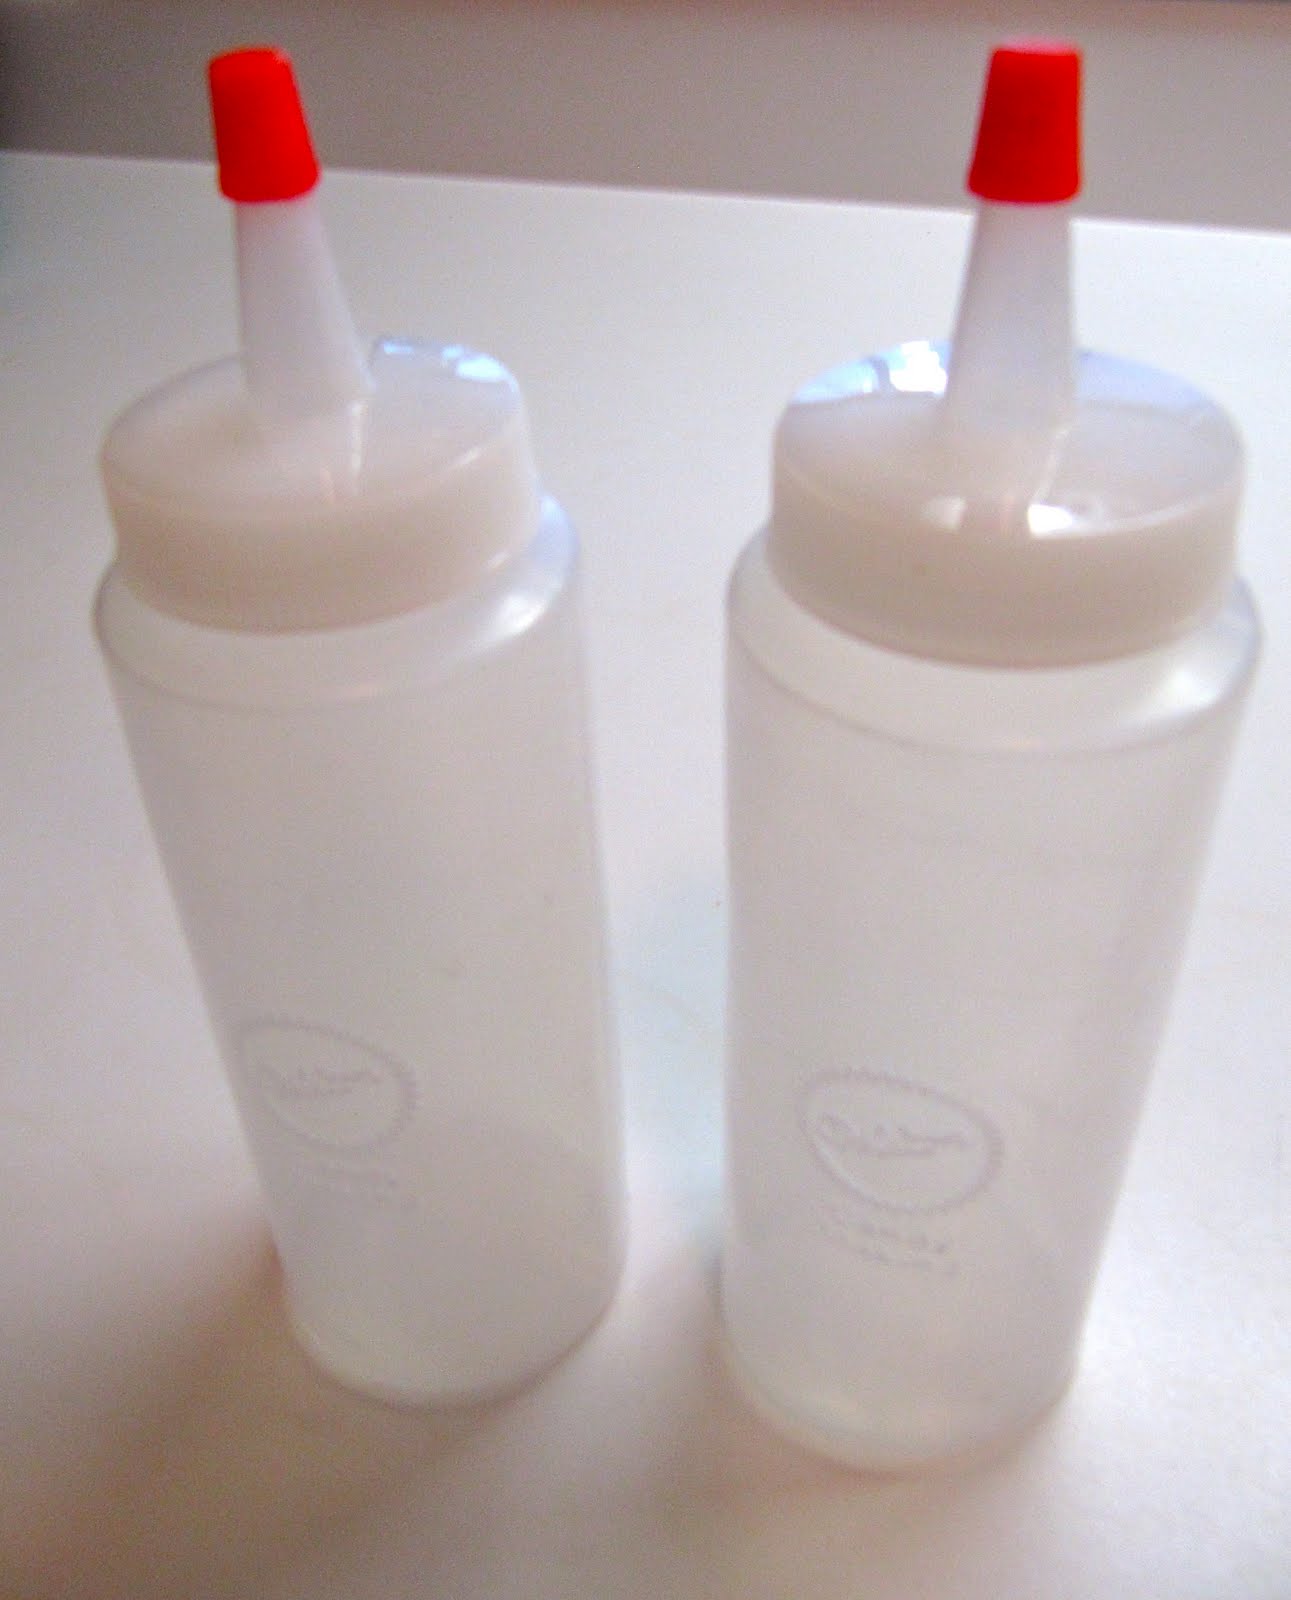
The cookie itself is my mom's famous sugar cookie cutout recipe. It yields a flavorful, sturdy cookie with a tender crumb. I decorated the cookies with royal icing applied to the cookie using a simple plastic squeeze bottle which are available in craft stores. I found mine at Bed, Bath & Beyond.

To decorate, hold the cookie in one hand and swirl the icing onto the cookie with the squeeze bottle, making sure to touch the cookie with the tip of the bottle. Have fun with it. I decorated the cookies with white sanding sugar to give them a glisten. I also made stars at the same time. For the stars, I iced the whole cookie and finished it with sanding sugar.

Christmas Cookie Cut Outs

2 cups flour
2 teaspoons baking powder
3/4 teaspoon salt
1 cup white sugar
1 egg
1/2 cup butter (1 stick)
1 teaspoon vanilla

Sift the flour, baking powder and salt together and set aside.
Cream butter and sugar together in a mixer until light and fluffy.
Add the egg and vanilla, mix well.
Add dry ingredients and mix until ingredients come together. Do not over mix.

Roll out dough until 1/8 inch thick, cut into shapes and transfer to parchment-lined cookie sheets. Bake at 375 degrees for 8 to 10 minutes until lightly browned around the edges. Let cookies cool on try for about a minute and remove to wire racks to finish cooling.

Decorate with royal icing.

Royal Icing
2 large egg whites
1 pound confectioners' sugar
food coloring and/or sanding sugar

Beat egg whites, sugar, and 2 t water on low speed for 10 minutes. For thicker icing continue to beat 2 or 3 minutes more. Transfer to smaller bowls and add food coloring as desired. If icing is too thick, add a drop or two of water to thin. Keep icing covered with plastic wrap when not using to avoid hardening.

Stars and Snowflake


Squeeze Bottles

August 27, 2010

Cookie Commerce


Ever since I started blogging about cookies my friends and family have been telling me to start a cookie business. Sure it sounds good, but I'm not sure it's something I want to do on a full-time basis. Sometimes hobbies are just hobbies. I'm afraid that if I'm forced to bake cookies it won't be fun any longer and I'm not sure I want to risk it. But on the other hand, I enjoy baking and that should count for something, right?

When my friend Ali asked me to make angel cut out cookies for her son's baptism this weekend I thought it might be a good time to test my theory. Can I bake cookies, deliver on time, make some money, and still have fun doing it? The answer to these questions are yes, yes, yes, and maybe. Let me explain.

After Ali and I decided on angel cookies I asked, "how many do you need?" After a slight hesitation she said, "Um, how about fifty?" Her voice raised a few octaves when she said fifty. I said "sure," no problem. The voice inside my head screamed "PROBLEM!" I had never made fifty, hand-cut, hand-iced cookies before. Ever. I had no idea how long it would take or how much ingredients I would need. But I had a few weeks to figure the details out and I was up for the challenge. I made a test batch using a new sugar cookie recipe but didn't like how the cookies puffed up, essentially taking most of the detail out of the design. My sister-in-law Tammy suggested using her no-fail Martha recipe which I tried and was pleased with the results. I calculated that I would need to make three batches of dough.

Over the course of two days I rolled dough and cut the cookies individually around a cardboard angel template which my mom drew many years ago. I carefully placed each angel on the cookie sheet and made last minute adjustments to the head or wing as needed. I was obsessing about each cookie. After all, this was my first foray into cookie making for profit.

Next I iced a few just to test my skills. For the wings, I decided on white icing sprinkled with white sanding sugar. For the body, a baby blue. For the hair, a light brown. I tried peach colored icing for the face, but decided it looked like the angel had a bad spray tan. It was best to not ice the face at all. I dabbed a spot of blue icing for the eye and tried bit of brown icing for the lips which ended up looking like a mustache. In the end I went with a pink icing for the lips, keeping the face details to a minimum.

Tammy also recommended that I use plastic squeeze bottles to apply the royal icing which I did and which worked beautifully. Once I got going, the process moved along and I enjoyed being a human assembly line. My angels began to multiply like rabbits in springtime and soon my counters and table were brimming with angel cookies.

Finished Cookies


Mother nature threw in a challenge of her own by turning up the humidity which caused the cookies to absorb the moisture in the air. The result was very soft cookies which were good for eating, but not good for icing and transporting. I cranked up the A/C and hoped for the best. Unfortunately, a few of the angels succumbed to the humidity and lost their heads as I picked them up to put the finishing touches on them. But fortunately, I had made extras and had just enough.

Headless Angels


The last challenge was getting the delicate cookies packed and delivered to Ali's apartment on the east side of Manhattan. I packed the cookies in various department store boxes since they were sturdy enough to carry the weight of the cookies. With the cookies carefully packed and layered with wax paper, I set off to Ali's apartment on East 45th Street. I was carrying two canvas bags, one needed to be kept flat and which I set on my lap during the subway ride. The other was held by my free hand. Just as the train pulled into Times Square it jerked unexpectedly and the man standing near me fell onto the man sitting two people away from me. The fall wasn't just a slip or a bump. It was a full-fledged, flat on your face, head first, ass over teakettle (to quote my mom) kind of fall. The six foot tall man landed squarely and firmly onto the guy near me with enough force to knock off his glasses. Had I been sitting there, just three feet to my left, the cookies would have been destroyed. Whew. That was close. I transferred to the shuttle over to Grand Central and then hauled the cookies through the masses of commuters. I was bobbing and weaving like a prizefighter. I reached my destination with the cookies intact.

Ali was delighted with the cookies as was her son, Vincenzo.

And so ends the story of my first professional cookie baking project. Stressful? Somewhat. Rewarding? Certainly. Would I do it again? You bet.

Here are the recipes I used for the sugar cookies and icing as well as a few tips when working with royal icing.

Sugar Cookies


4 cups all-purpose flour, sifted
1/2 teaspoon salt
1 teaspoon baking powder
1 cup (2 sticks) butter, unsalted
2 cups sugar
2 eggs
2 teaspoons vanilla extract

Sift flour, salt, and baking powder into a bowl. Set aside.
Cream butter and sugar in the bowl of an electric mixer fitted with a paddle attachment until light and fluffy, about 3 minutes. Beat in eggs and vanilla.

Add flour mixture, mixing on low until thoroughly combined. Wrap dough in plastic wrap, separating into two equal sized pieces. Chill for 30 minutes or overnight.

Heat oven to 325 degrees. Roll dough on lightly floured surface to a thickness of 1/8 inch. Cut into desired shapes and transfer to ungreased baking sheets. Refrigerate until firm, about 15 minutes. Bake 8 to 10 minutes until edges brown slightly. Cool on wire racks.

Royal Icing

3 tablespoons meringue powder (available at baking supply stores or at Michael's Crafts)
1 lb sifted confectioners' sugar (it's important to sift the sugar!)
5 - 6 tablespoons warm water
1 teaspoon flavoring such as vanilla, lemon, orange, or almond extract (optional)

Combine all ingredients and mix with an electric mixer 5 to 6 minutes on low speed. Scrape sides of bowl as necessary. Divide icing into smaller bowls an add food coloring one drop at a time until desired color is reached.

Keep icing covered with a piece of plastic wrap directly on top of the icing so it doesn't dry out.

The goal is to make the consistency thin for making outlines but not too thin so it runs (like a glaze). It should be firm enough to hold its shape. Add water or additional confectioners' sugar to thin or thicken. Fill plastic squeeze bottle or pastry bag fitted with #2 tip and outline the cookie.

To fill inside the outline, add water to existing icing or make a new batch, adding water as needed to create a glaze-like icing (it should be a little on the thick side). Again, fill pastry bag or squeeze bottle with icing and fill in the outlines. Add sanding sugar or decorations as desired. Icing will spread and fill in any empty holes.

Tips for Success:

1. Use a toothpick to scrap any extra icing off of the cookie. This works well to smooth out the area where your outline begins and ends. You can also wet your finger and gently press to close the seam.

2. Use a toothpick to apply small icing details.

3. Always keep icing covered when not using. Any dried pieces will clog the pastry bag tip.

4. When creating the outline, hold the tip slightly above the cookie and let it fall gently.

5. The squeeze bottles are easier to use than the pastry bag and tip.

6. Allow outlines to fully dry before flooding.

7. Practice makes perfect.